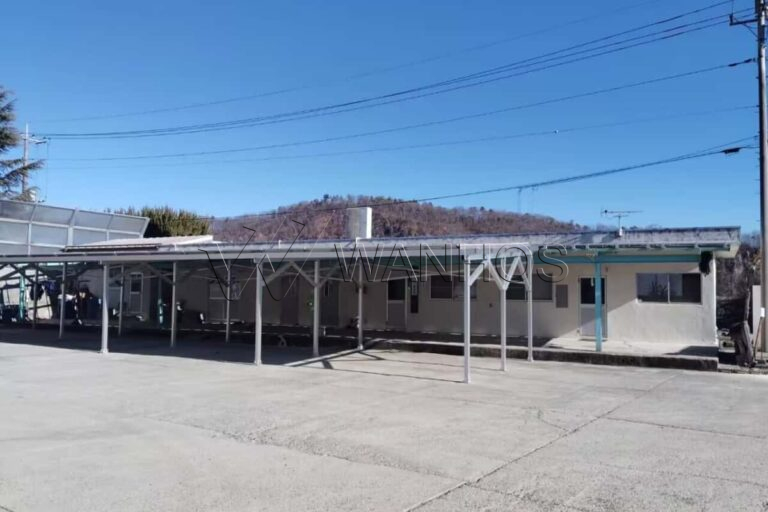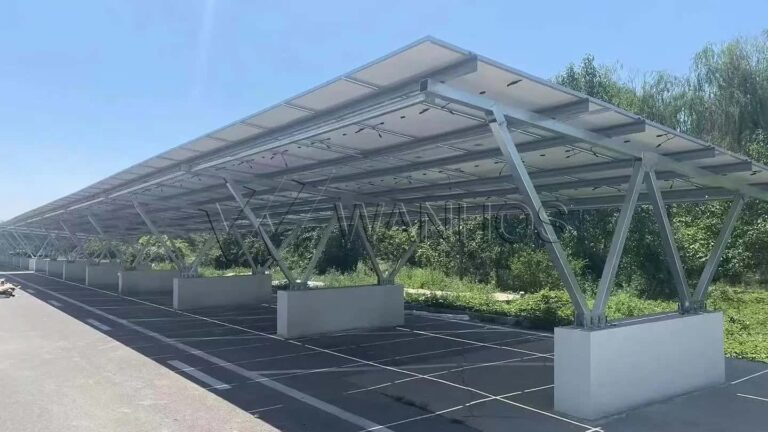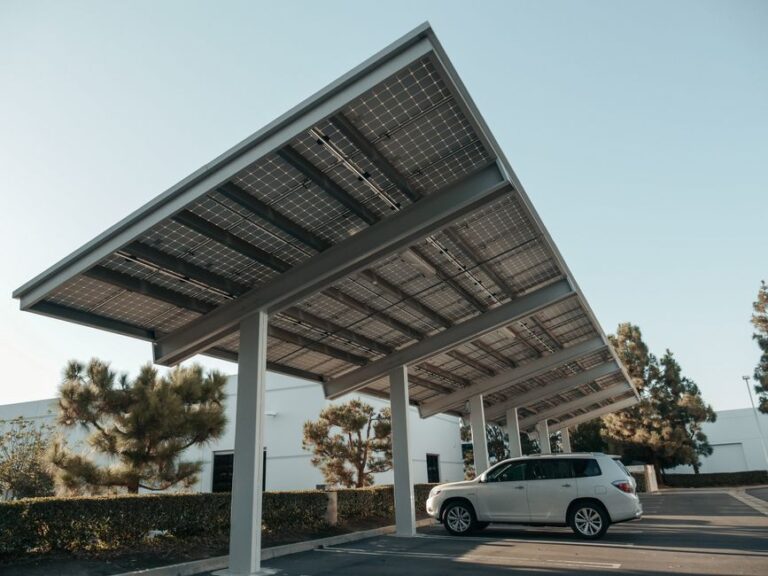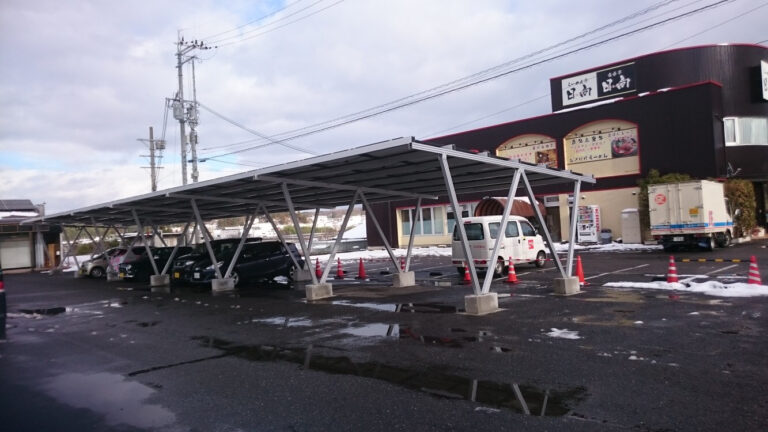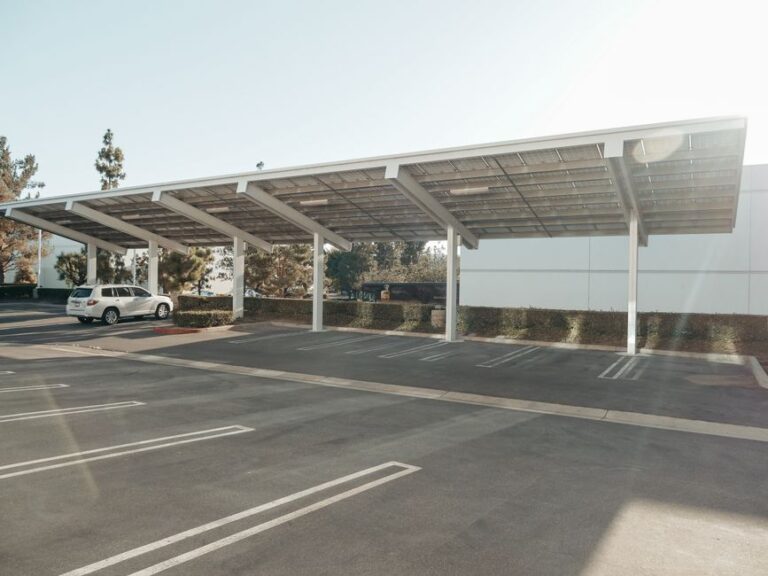
How to Install Carport Solar Panels: Easy-Install Brackets Field Guide
Before accepting an easy-install claim, field teams should verify anchor tolerances, connection sequencing, and the bracket details that prevent rework on a solar carport.
Most carport racking problems are not discovered when a module cracks or a rail slips. They are set in motion earlier, when an anchor bolt layout is off by a few millimetres or a beam-to-column connection needs three people to align. For installers and project engineers, easy-install solar carport brackets are not a product description to take on faith. They are a set of field-checkable characteristics that reduce labor, alignment error, and rework on site.
Carport structures vary by foundation type, column configuration, and rail system. If you are still comparing the broader structural options, the solar carport structures collection provides an overview of available categories. This guide focuses on the installation sequence and the bracket features worth inspecting before you commit a crew to a specific system.
Key Takeaways
- Easy-install is an engineering choice, not a marketing label; verify slot adjustment, captive hardware, and visible alignment references before commitment.
- Anchor bolt layout and edge distance control most field tolerance risk, so review foundation drawings with the structural engineer.
- The generic pre-panel sequence is: set anchors, erect columns, align and torque beams, attach purlins or rails, then check rack plane flatness.
- Module attachment order is end clamps, mid clamps, module placement, then bonding and grounding; local code and manufacturer instructions are authoritative.
- Catch misaligned base plates, out-of-plane purlins, and missing module clearance before concrete is poured or final bolts are torqued.
What a Carport Asks of the Field Team
A solar carport is not a ground mount with a roof, and it is not a rooftop system with extra steel. The key difference is that the structure must clear vehicles, respect parking bay geometry, and transfer loads through columns placed where drivers already need to move. That changes how installation crews sequence work and where they spend alignment time.
Clearance requirements govern column height and beam placement. Vehicle access limits where a telehandler or lift can be positioned. Anchor points on existing concrete require careful layout and drilling; new footings must be set to the right elevation and edge distance before steel arrives. Drainage also matters because water must not pond under the modules or around the column bases. None of these are bracket features, but they determine whether any bracket system can be installed without rework.

Pre-Installation Checks Before You Trust an Easy-Install Claim
The easiest bracket system will not save labor if the foundation is wrong. Before ordering or mobilizing, the field supervisor should verify anchor bolt layout and tolerance against approved project drawings. Base plates with slotted holes can absorb some variation, but only within limits. Check that column alignment references are clear and that the beam-to-column connection sequence is defined in the drawings. Foundation edge distance, embedment depth, and wind or snow load requirements must be confirmed with the structural engineer or the manufacturer’s instructions.
- Confirm anchor bolt pattern, spacing, and edge distance before drilling or pouring.
- Check base plate slot adjustment direction and travel against the bolt layout.
- Verify column alignment references are visible and can be repeated after steel is set.
- Review the beam-to-column connection sequence to avoid field-drilled holes.
- Ask the supplier which checks require a surveyor or laser level.
Installation Sequence Before Panels Arrive
The pre-panel phase determines whether modules land on a flat, square rack. The generic order for carport solar racking installation is: mark and set anchor points, erect columns, align and torque beams, attach purlins or rails, and check rack plane flatness. Each step has a verification point that prevents the next step from compounding error.
- Mark anchor points from a verified reference line, not from the concrete edge.
- Set columns plumb and brace them temporarily; do not final-torque until beams are aligned.
- Align beams to the column references before fully tightening connections.
- Attach purlins or rails with enough slotted adjustment to correct minor twist.
- Check rack plane flatness across the full array using a string line or laser; verify acceptable tolerance with the engineer.
What Actually Makes a Bracket System Easy to Install
Easy-install solar carport brackets are not defined by marketing language. They are defined by the number of loose parts, the number of tools per connection, and the amount of field adjustment left after steel is placed. When evaluating a system, look for the following characteristics because each one reduces a specific rework trigger.
- Pre-assembled or semi-assembled connections reduce the chance of lost hardware and sequence errors.
- Captive hardware keeps nuts and bolts in place during lifting, so one person can make a connection without chasing fasteners.
- Slotted or toothed interfaces allow alignment correction without drilling or grinding.
- Single-tool fastening cuts switching time and the risk of using the wrong socket on torque-critical joints.
- Visible alignment references—punch marks, laser holes, or notches—let an installer confirm orientation at a glance.
- Ratchet-free indexing removes the need to count rotations or guess engagement depth.
Trade-Offs in Connection Methods
Bolted splices, clamp-style purlin connections, and channel-mounted rails each have different failure and labor profiles. None is universally better, but the choice affects how much adjustment is available after erection.
Bolted splices
Bolted splices offer predictable load paths and are familiar to most crews. They require accurate hole alignment and torque verification. If the splice has no slotted hole, a small column tilt can force drilling or reaming in the field.
Clamp-style purlin connections
Clamp connections speed up assembly and reduce the number of through-bolts. The trade-off is they rely on consistent purlin wall thickness and clamp seating. If the clamp can be installed backward or on the wrong face, the connection may look tight while allowing slip under load.
Channel-mounted rails
Channel-mounted rails provide continuous adjustment along the beam. They ease module row alignment, but the channel fasteners must be kept clean and the rail nuts must be oriented correctly before panels arrive. A channel interface that lacks a stop or index mark can hide partial engagement.
Module Attachment and Grounding Sequence on Carport Rails
Once the rack plane is accepted, module installation follows a sequence that protects both the modules and the grounding path. The typical order is end clamps, mid clamps, module placement, and then bonding or grounding connections. This order matters because it ensures each module is constrained before the next is lifted and because grounding connections must land on prepared metal, not after thought.
Always follow the module manufacturer’s clamping zones and the racking manufacturer’s torque instructions. Local code and the project electrical engineer determine the bonding method—whether integrated washers, separate lugs, or listed bonding devices. Do not substitute stainless steel for copper or assume that frame contact alone is acceptable.
Failure Modes and Rework Triggers to Catch Before Concrete or Final Torque
Most carport racking rework comes from a few predictable conditions. Catch them while correction is still cheap.
- Misaligned base plates that force columns out of plumb or shift beam centers.
- Wrong edge distance or embedment depth at the anchor, which may require engineer approval before proceeding.
- Out-of-plane purlins that create module gaps or clamp slippage.
- Missing clearance for module frames where the rail sits too close to a beam or column.
- Dissimilar metal contact where aluminum and galvanized steel interface without a listed isolator.
- Inadequate adjustability after assembly—by the time the last rail is fixed, there is no remaining travel to square the array.
How Carport Installation Compares with Ground-Mounted Layout Decisions
Carport layout is more constrained than a typical ground-mount. Column spacing must respect parking bay widths and the location of existing concrete, not just the module string length. Ground-mount layouts can be shifted on raw land to avoid unsuitable soil or to align with existing roads. That flexibility influences installation too: a ground-mount crew can usually adjust east-west or north-south rack placement before foundations, while a carport crew must hit anchor points that drivers will use every day. If you are still weighing mounting approaches, the layout choices for ground-mounted panels article explains those trade-offs in more detail.
Final Field-Readiness Checklist
Before the first module is lifted, and again after the last rail is torqued, verify the following items. Use this list during project planning and site walks.
- Approved structure drawings are on site and match the foundation as-built.
- Anchor bolt layout, edge distance, and elevation are within the project engineer’s tolerance.
- Columns are plumb and beams are aligned before final torque.
- Rack plane flatness is checked and accepted across the full array.
- Clamp sequence and torque procedure are documented and followed.
- Grounding and bonding connections are complete and inspected.
- Vehicle clearance, drainage, and access paths are unobstructed.
Use this checklist before, during, and after installation. If a bracket system cannot demonstrate these adjustment and alignment features in the hand, the easy-install label will not survive contact with the foundation.